

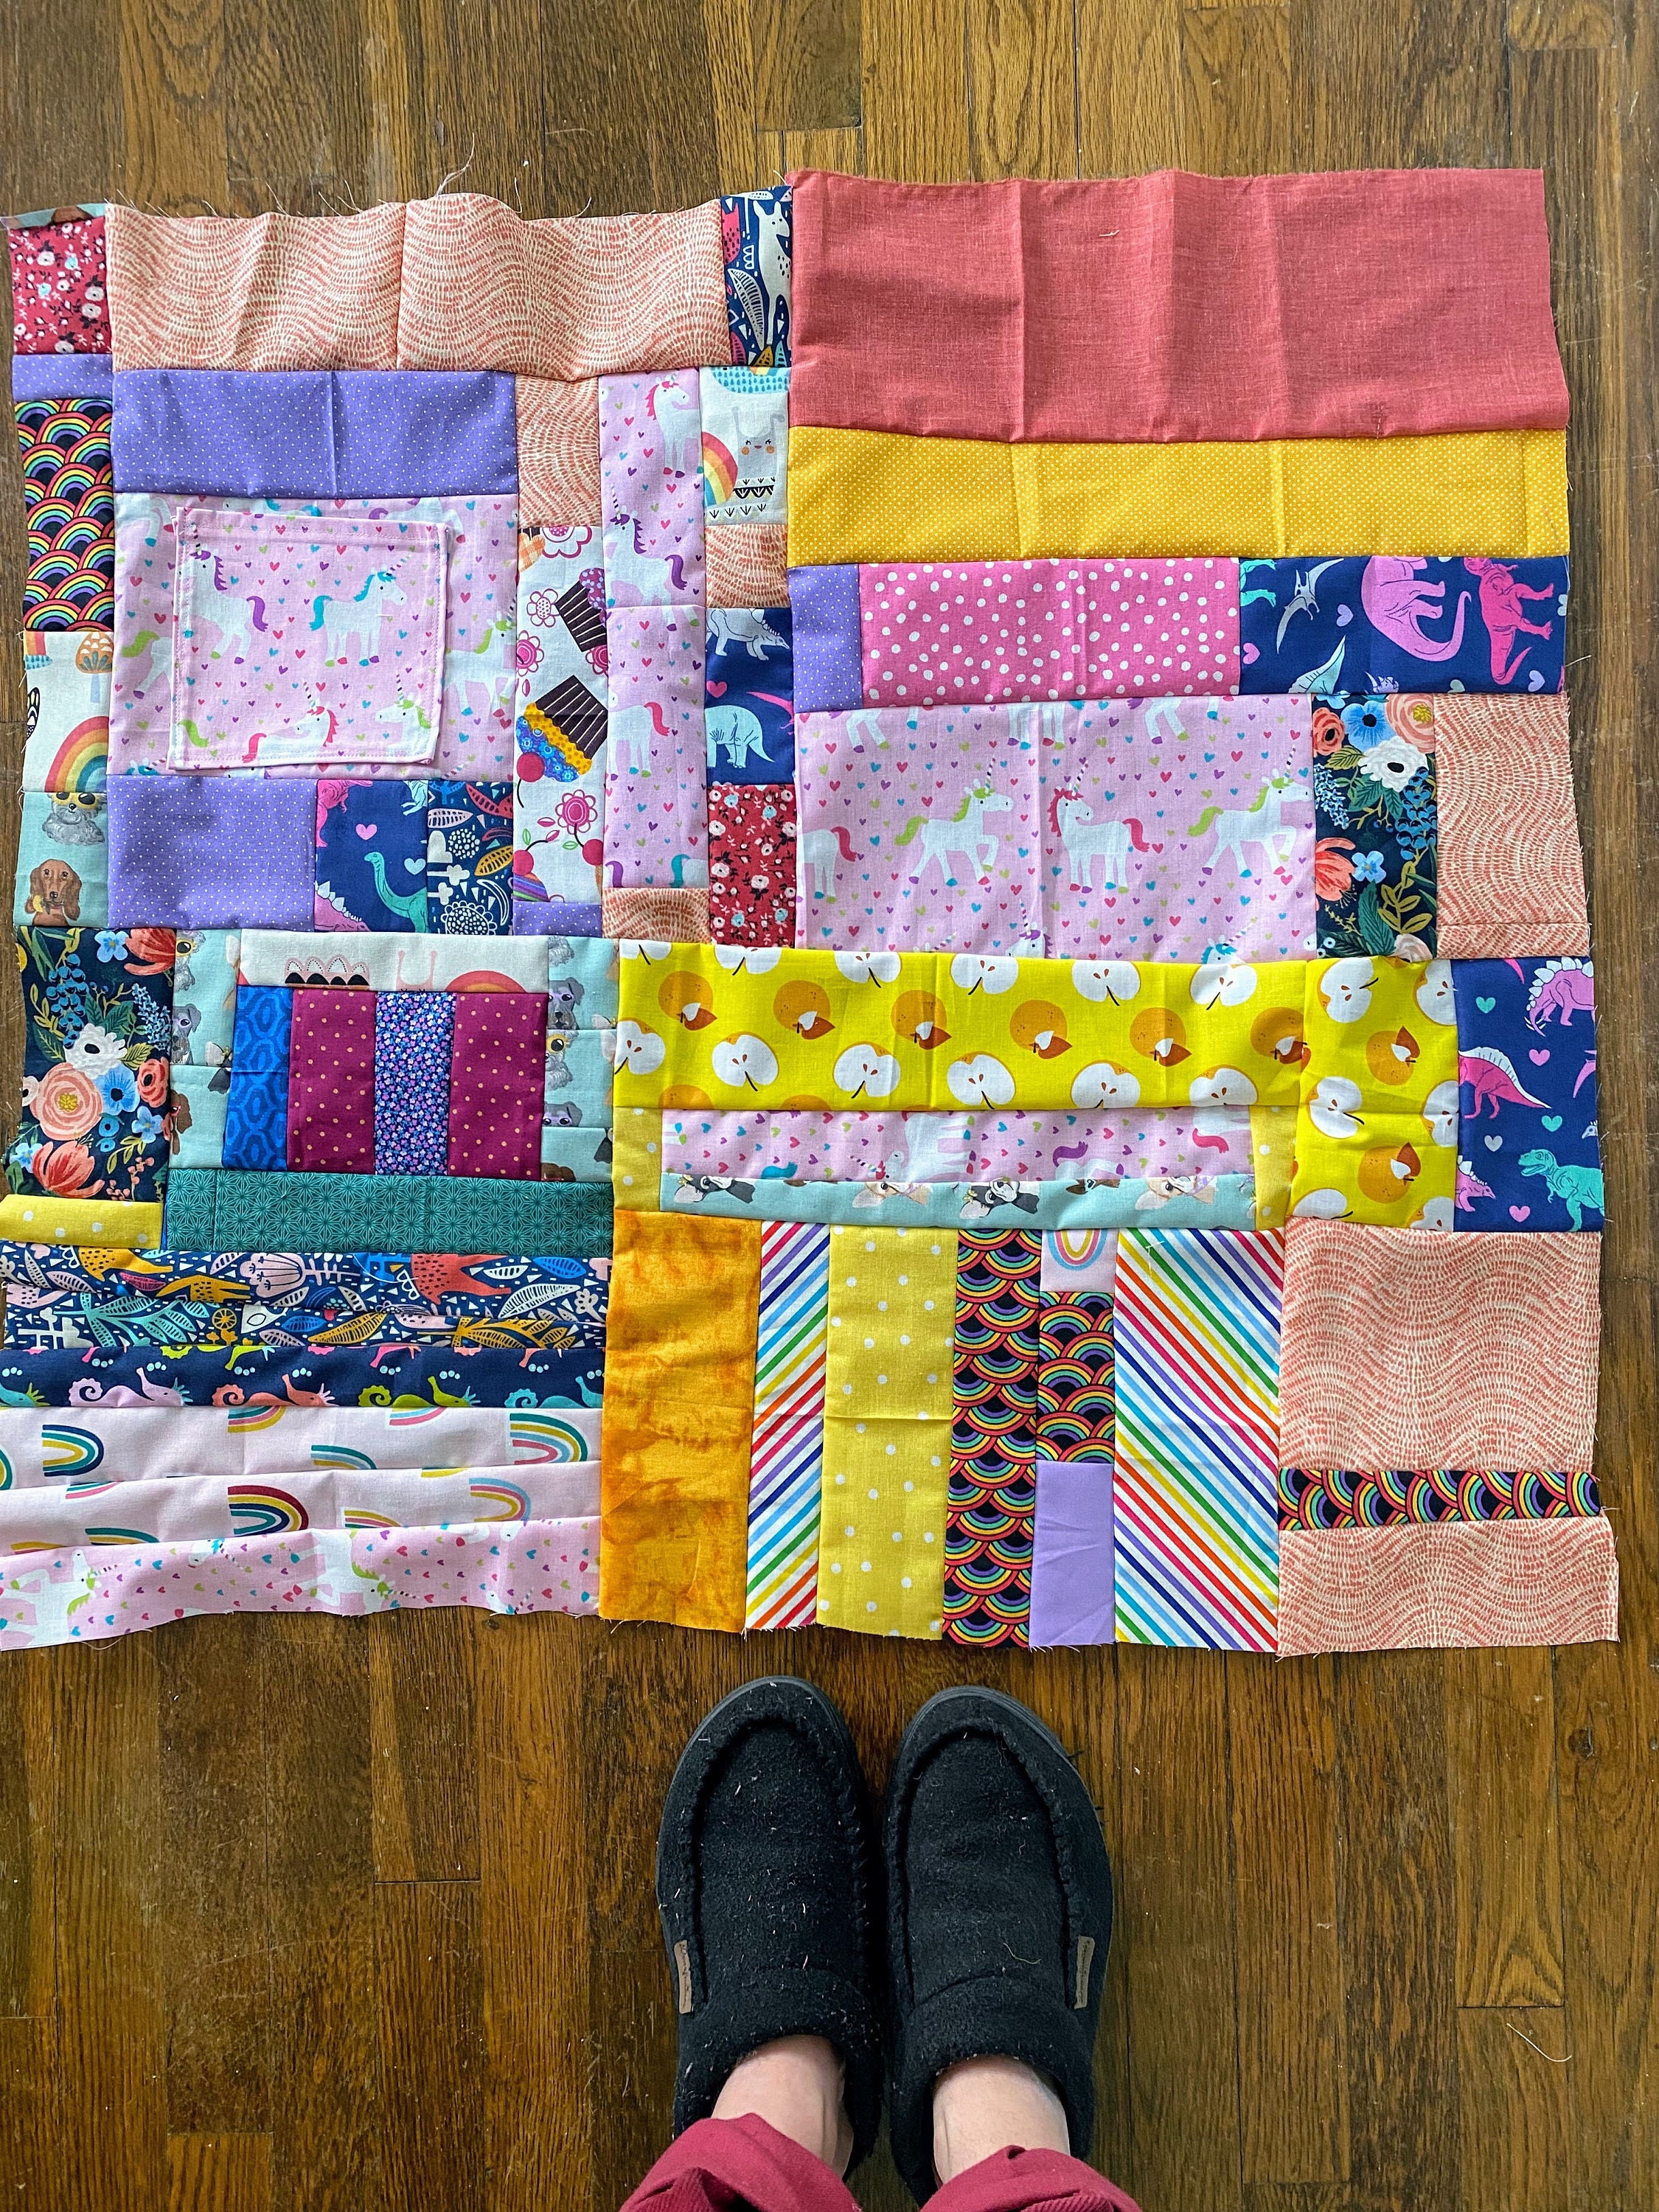
We're back today with part 2 of how to make a quilt with your fabric scraps! If you missed part 1, check it out here!
What you'll need for the next part:
1. Batting
2. Backing fabric
3. Pins
4. Binding tape
5. Sewing machine/thread
6. Scissors
7. Painters Tape
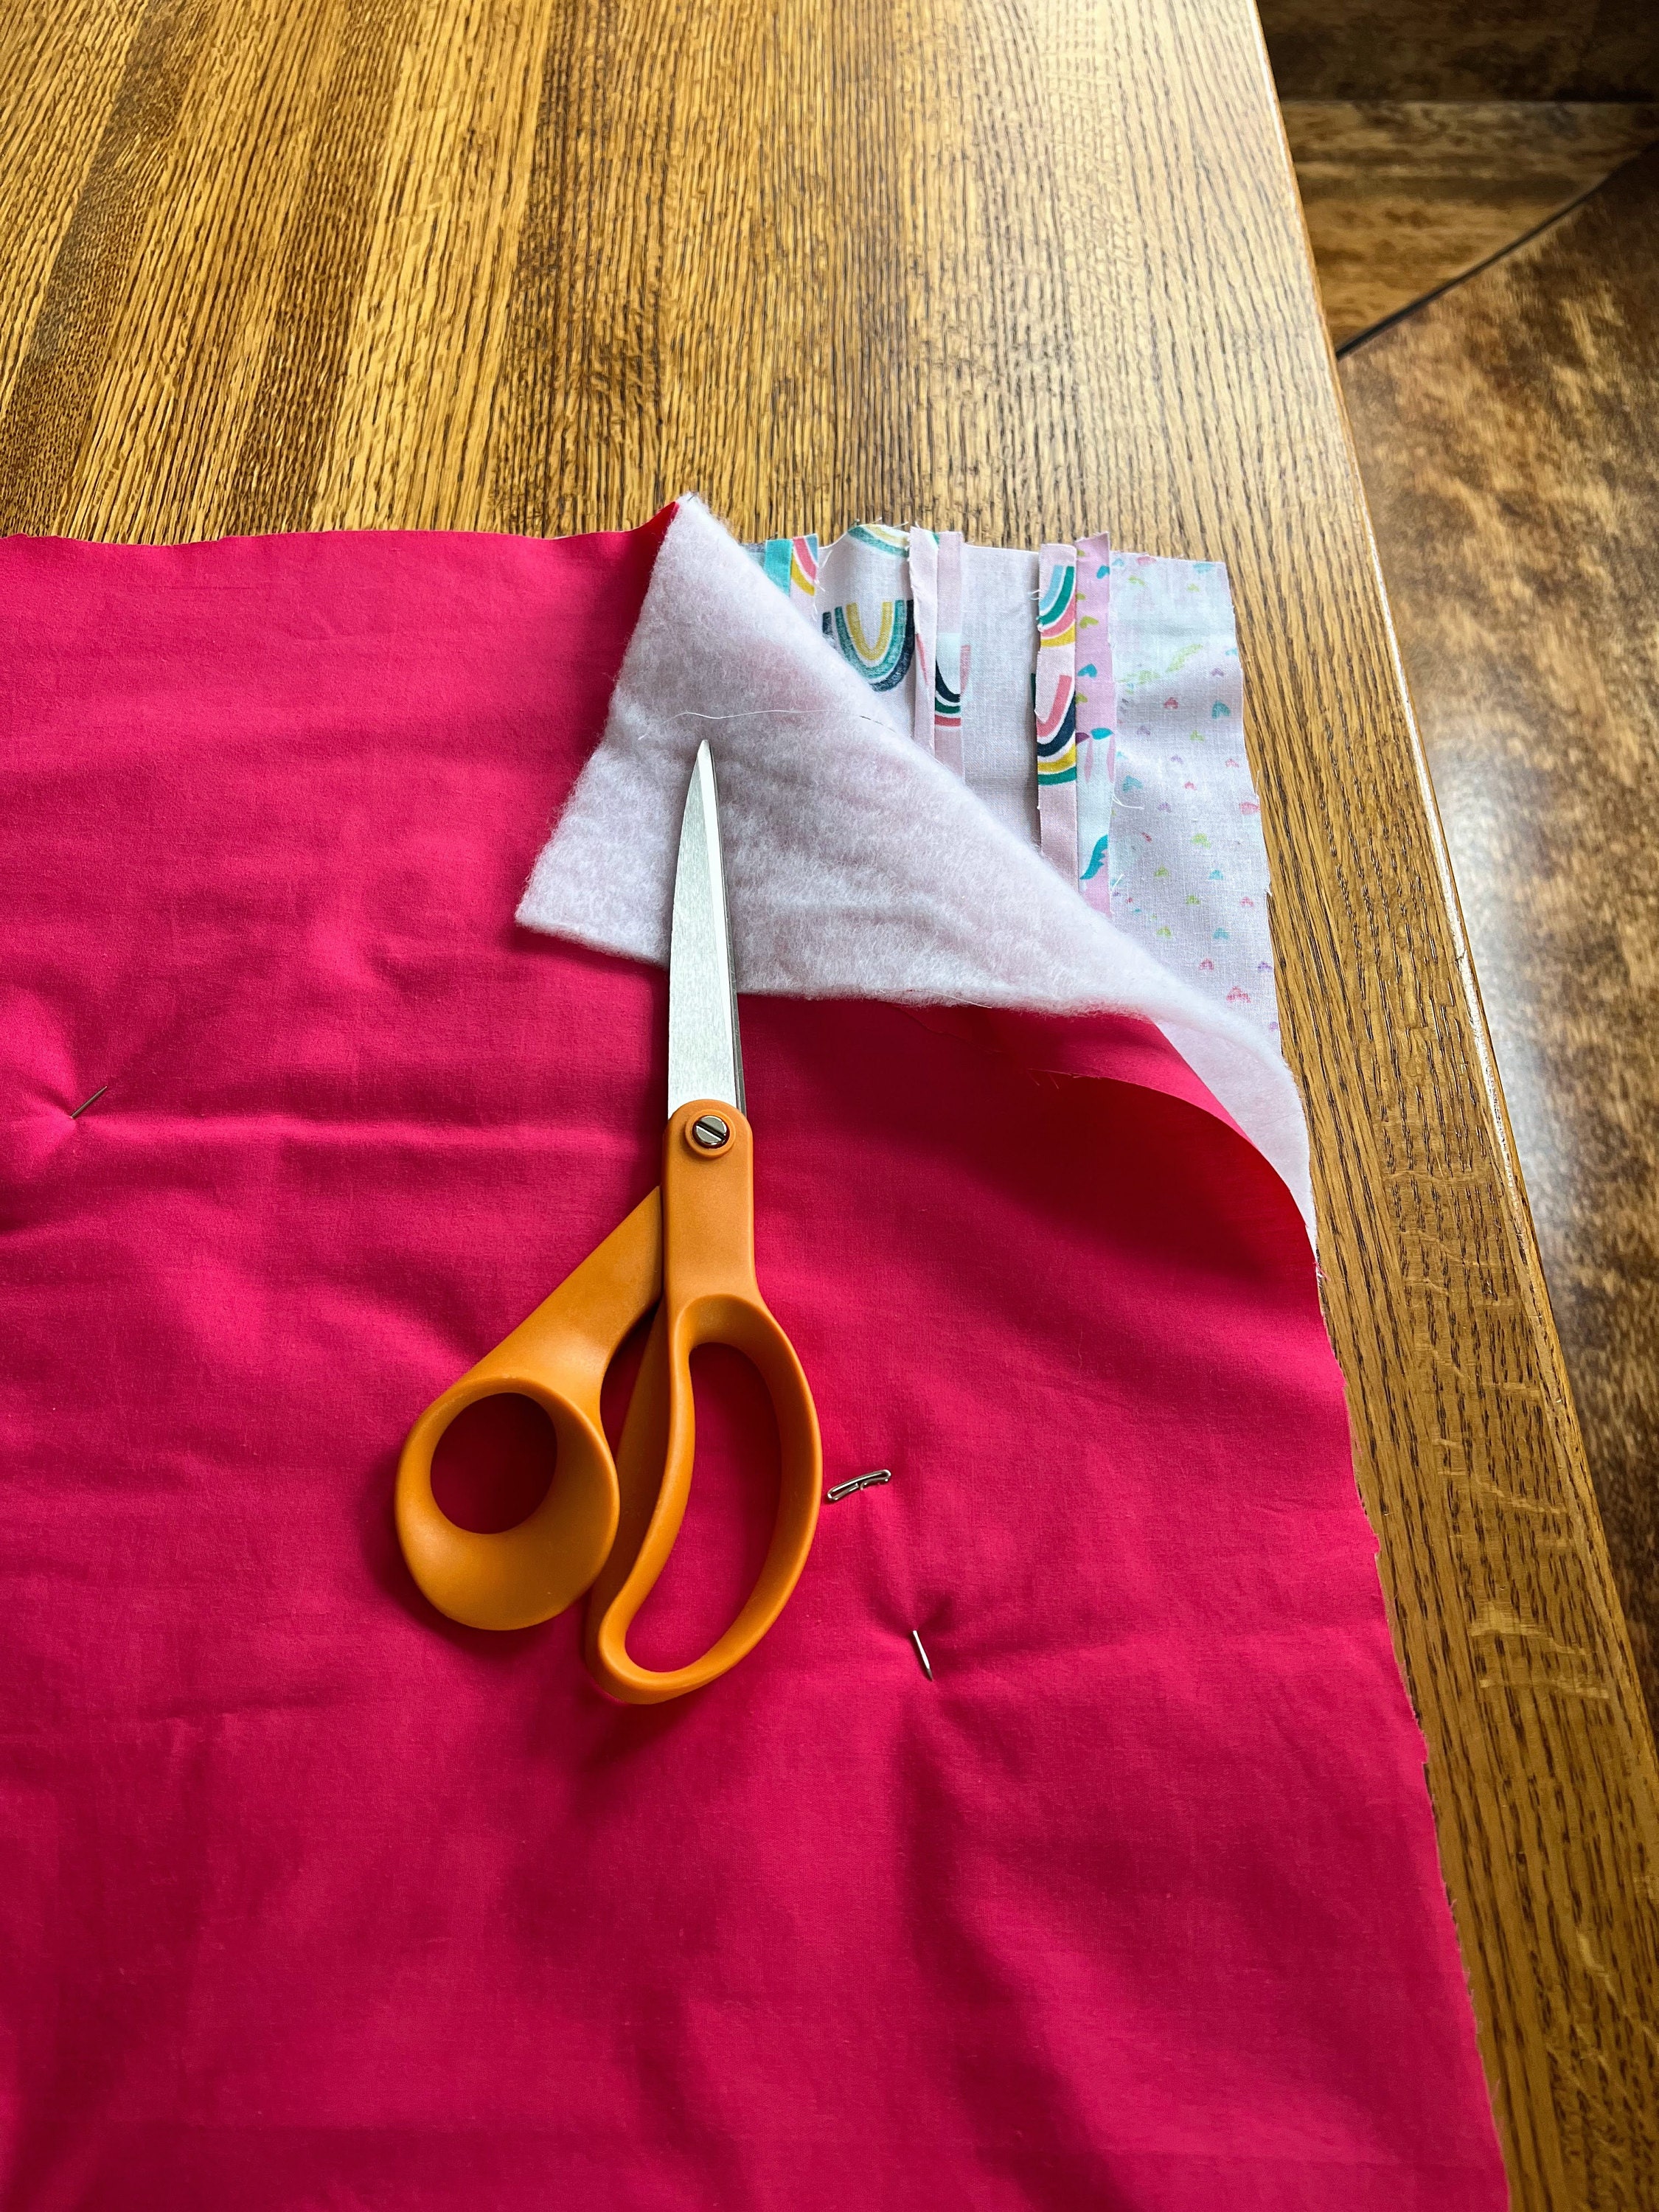
Because I wanted to make this quilt 100% from scraps, I pulled together batting, backing fabric, and binding tape scraps that were all leftover from other projects! Feel free to use whatever you have available to you.
The first step will be to make a batting sandwich. It will go top (facing down), batting, and then top it off with the backing fabric (facing up). You'll want the wrong sides (the ugly sides!) touching the batting. Pin those layers together.
Next, use painters tape to lay out your top stitching design. Because the top of my quilt is so busy, I decided to keep my top stitching pattern very simple. Painters tape is super helpful in achieving straight lines!
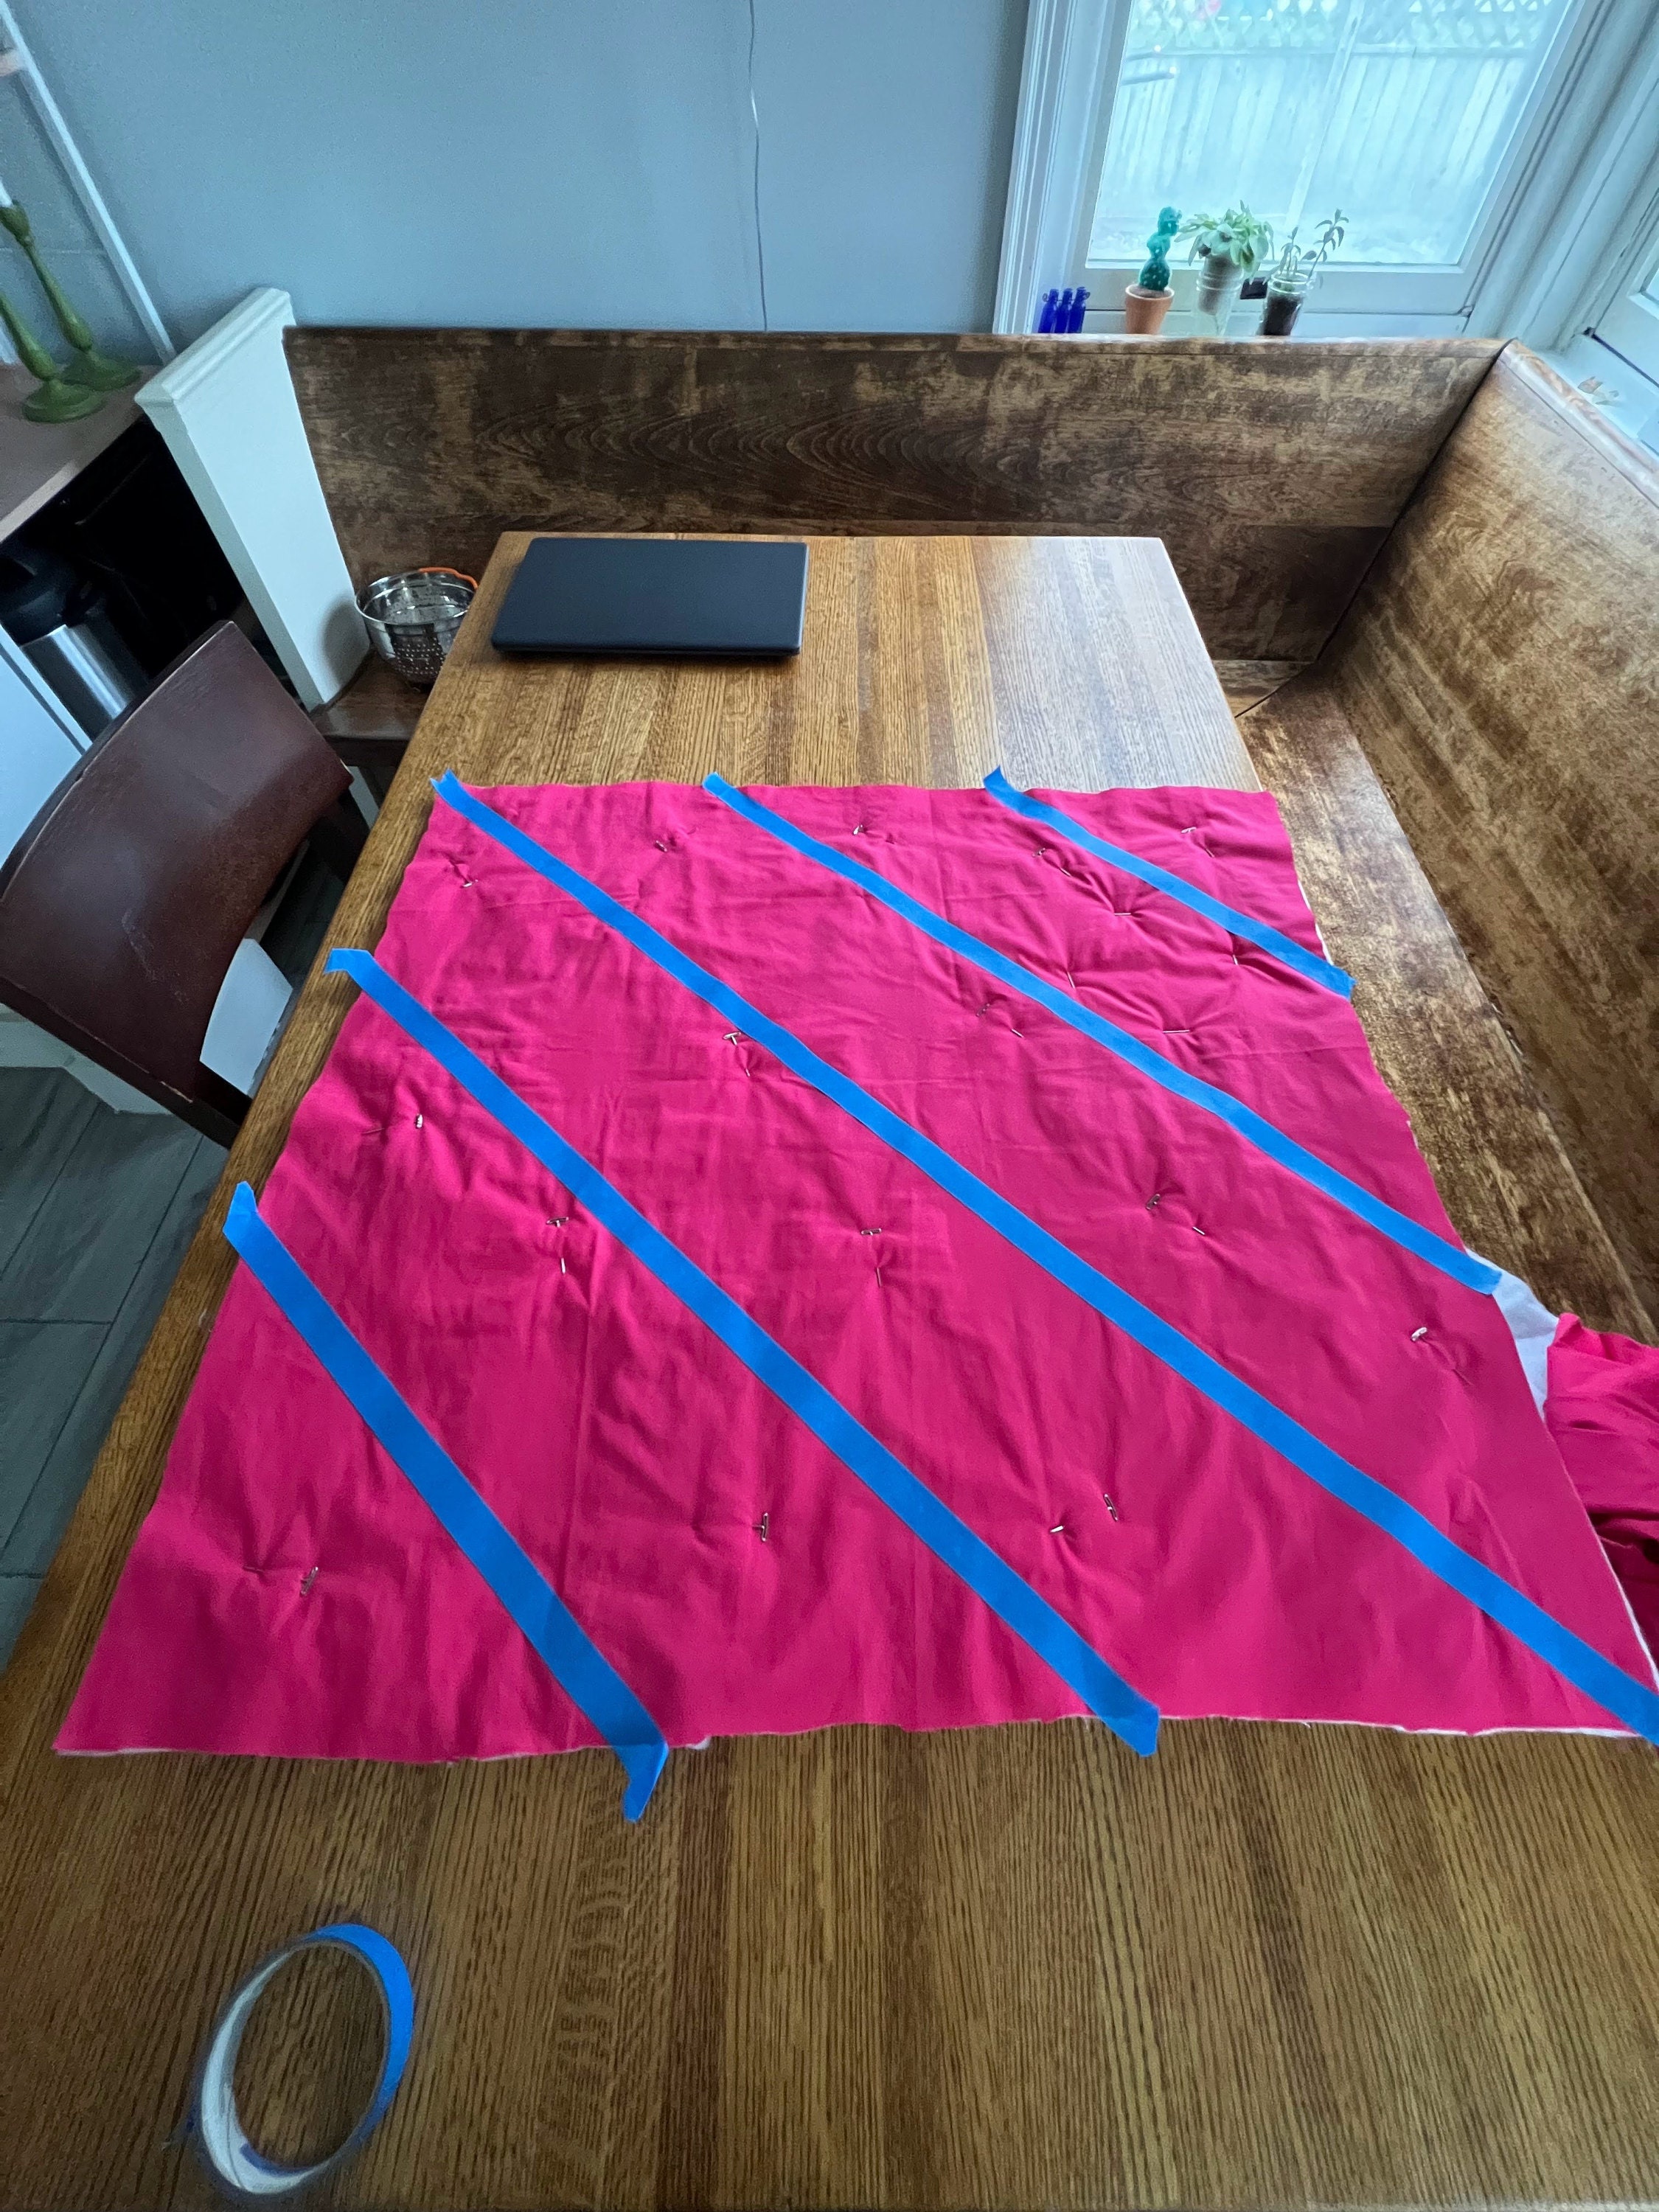
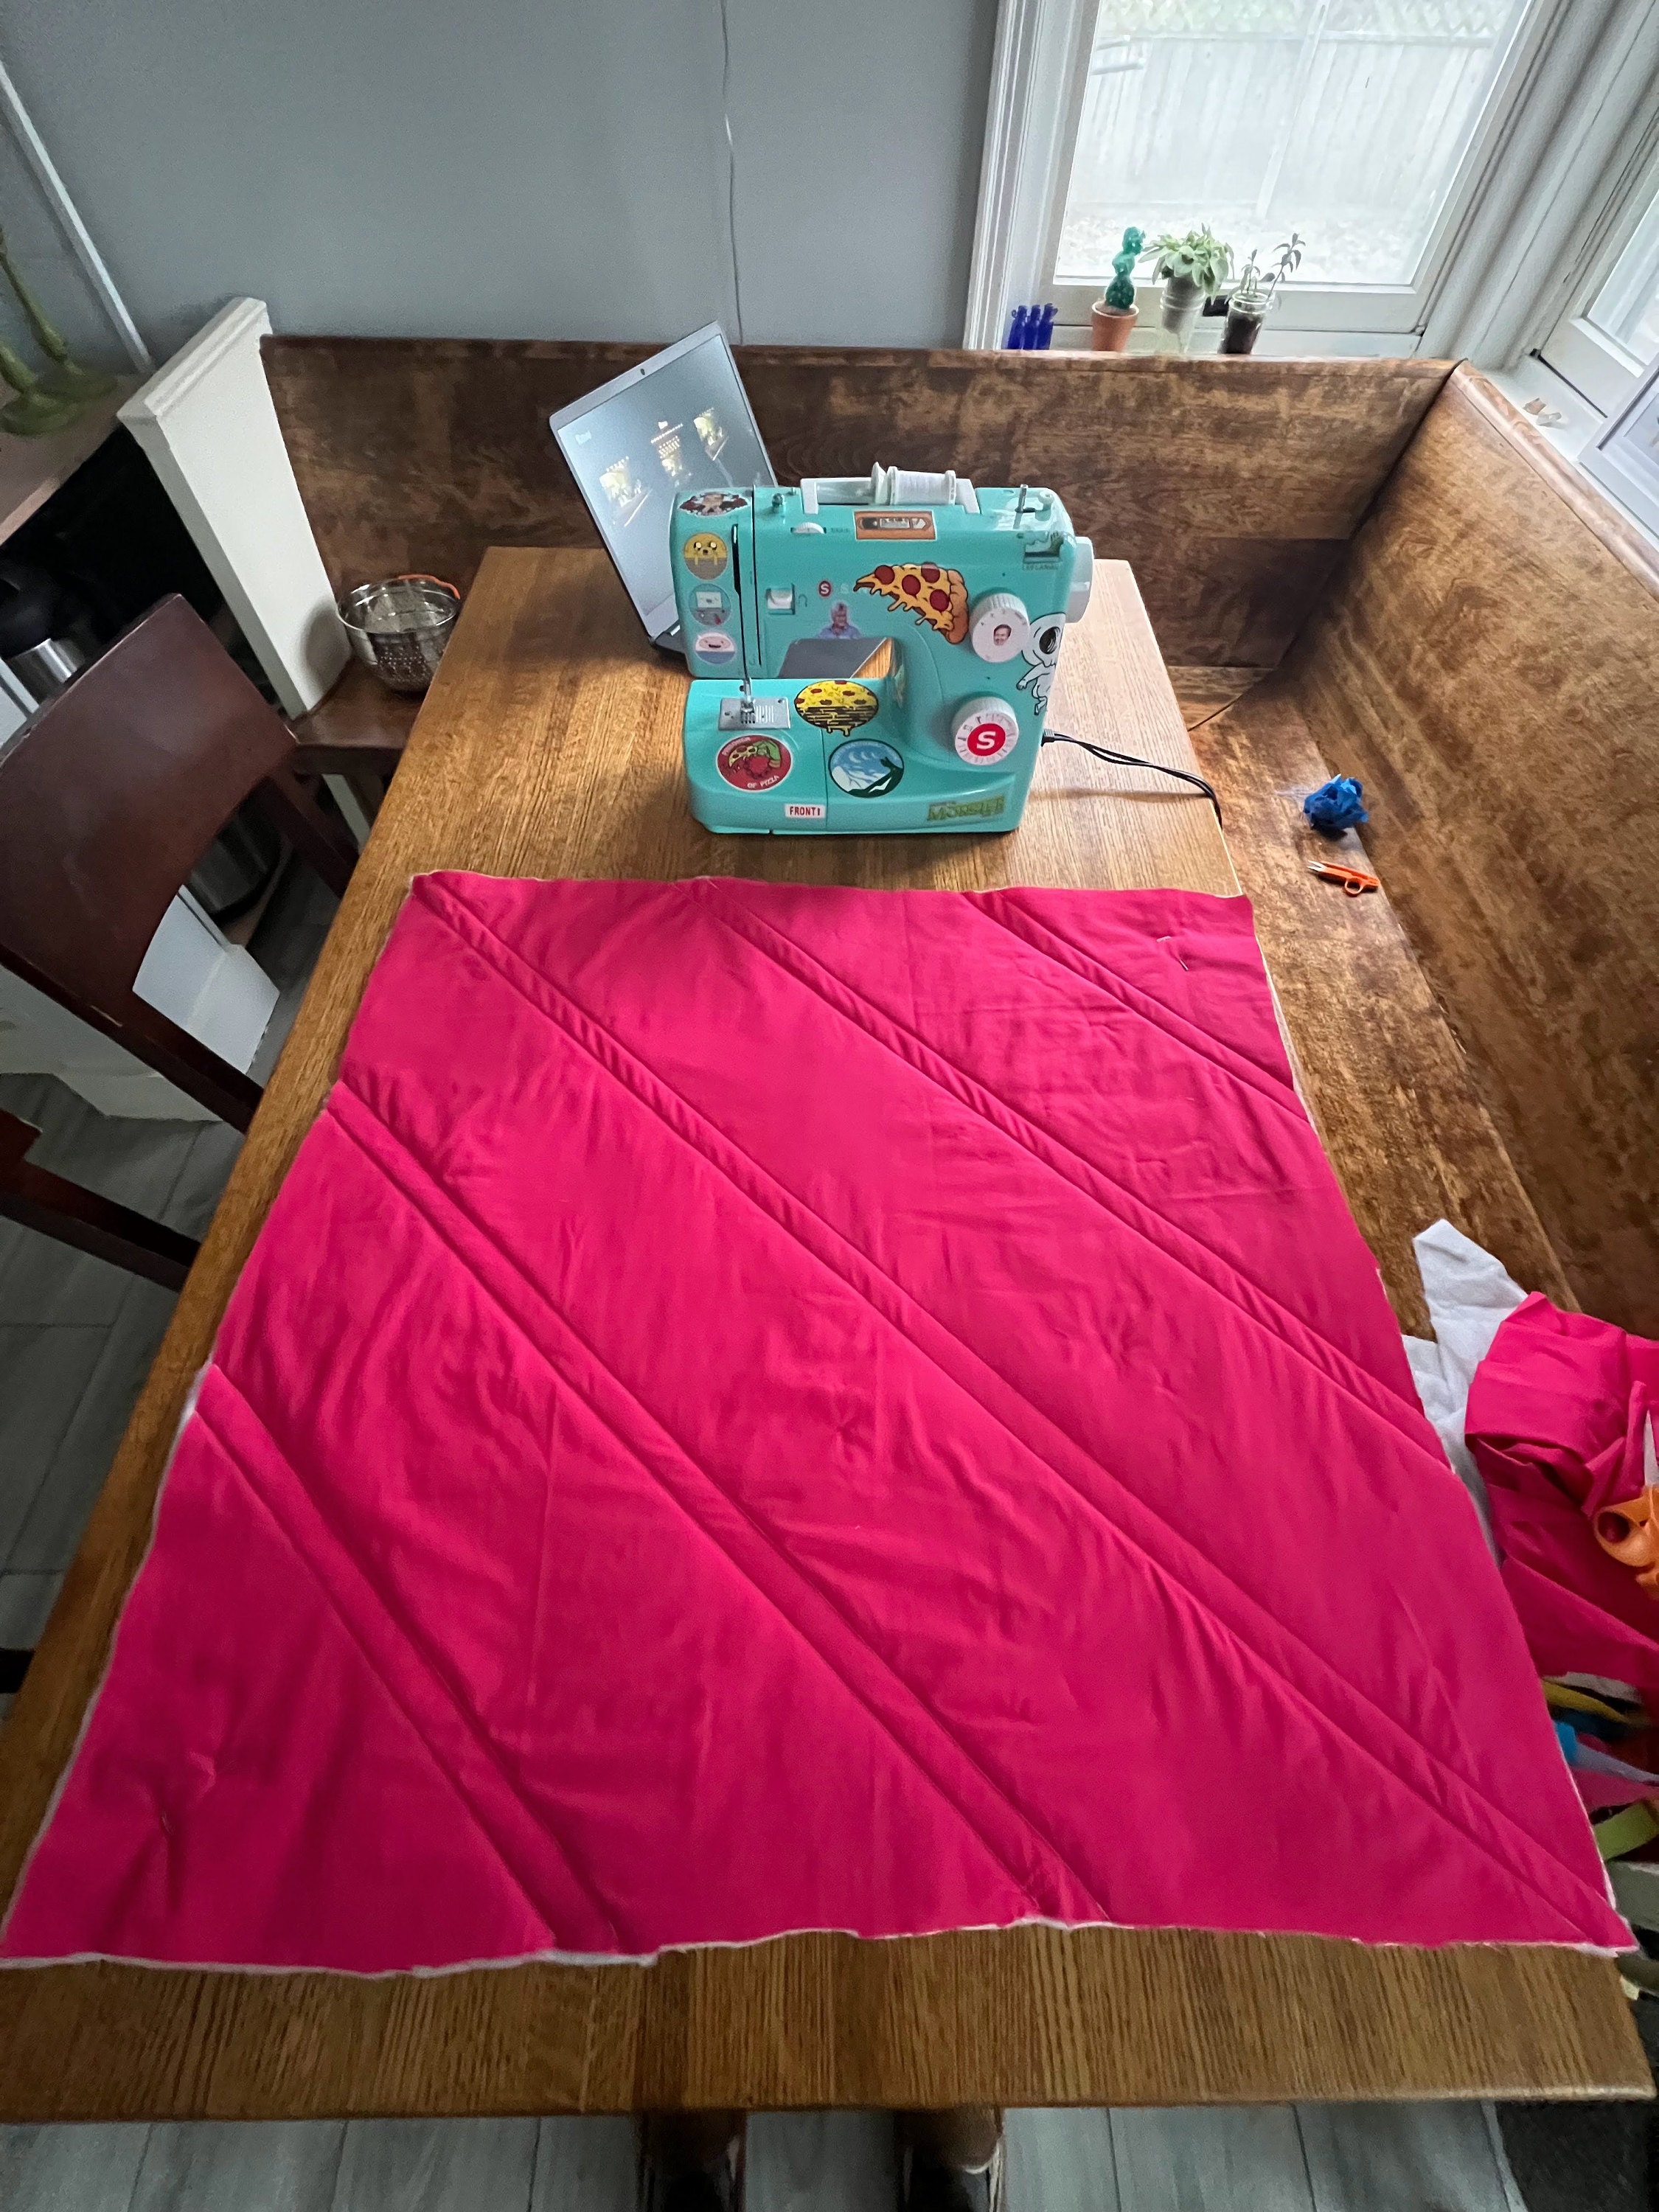
You can see that I sewed along both sides of the painters tape for a cool but simple pattern!
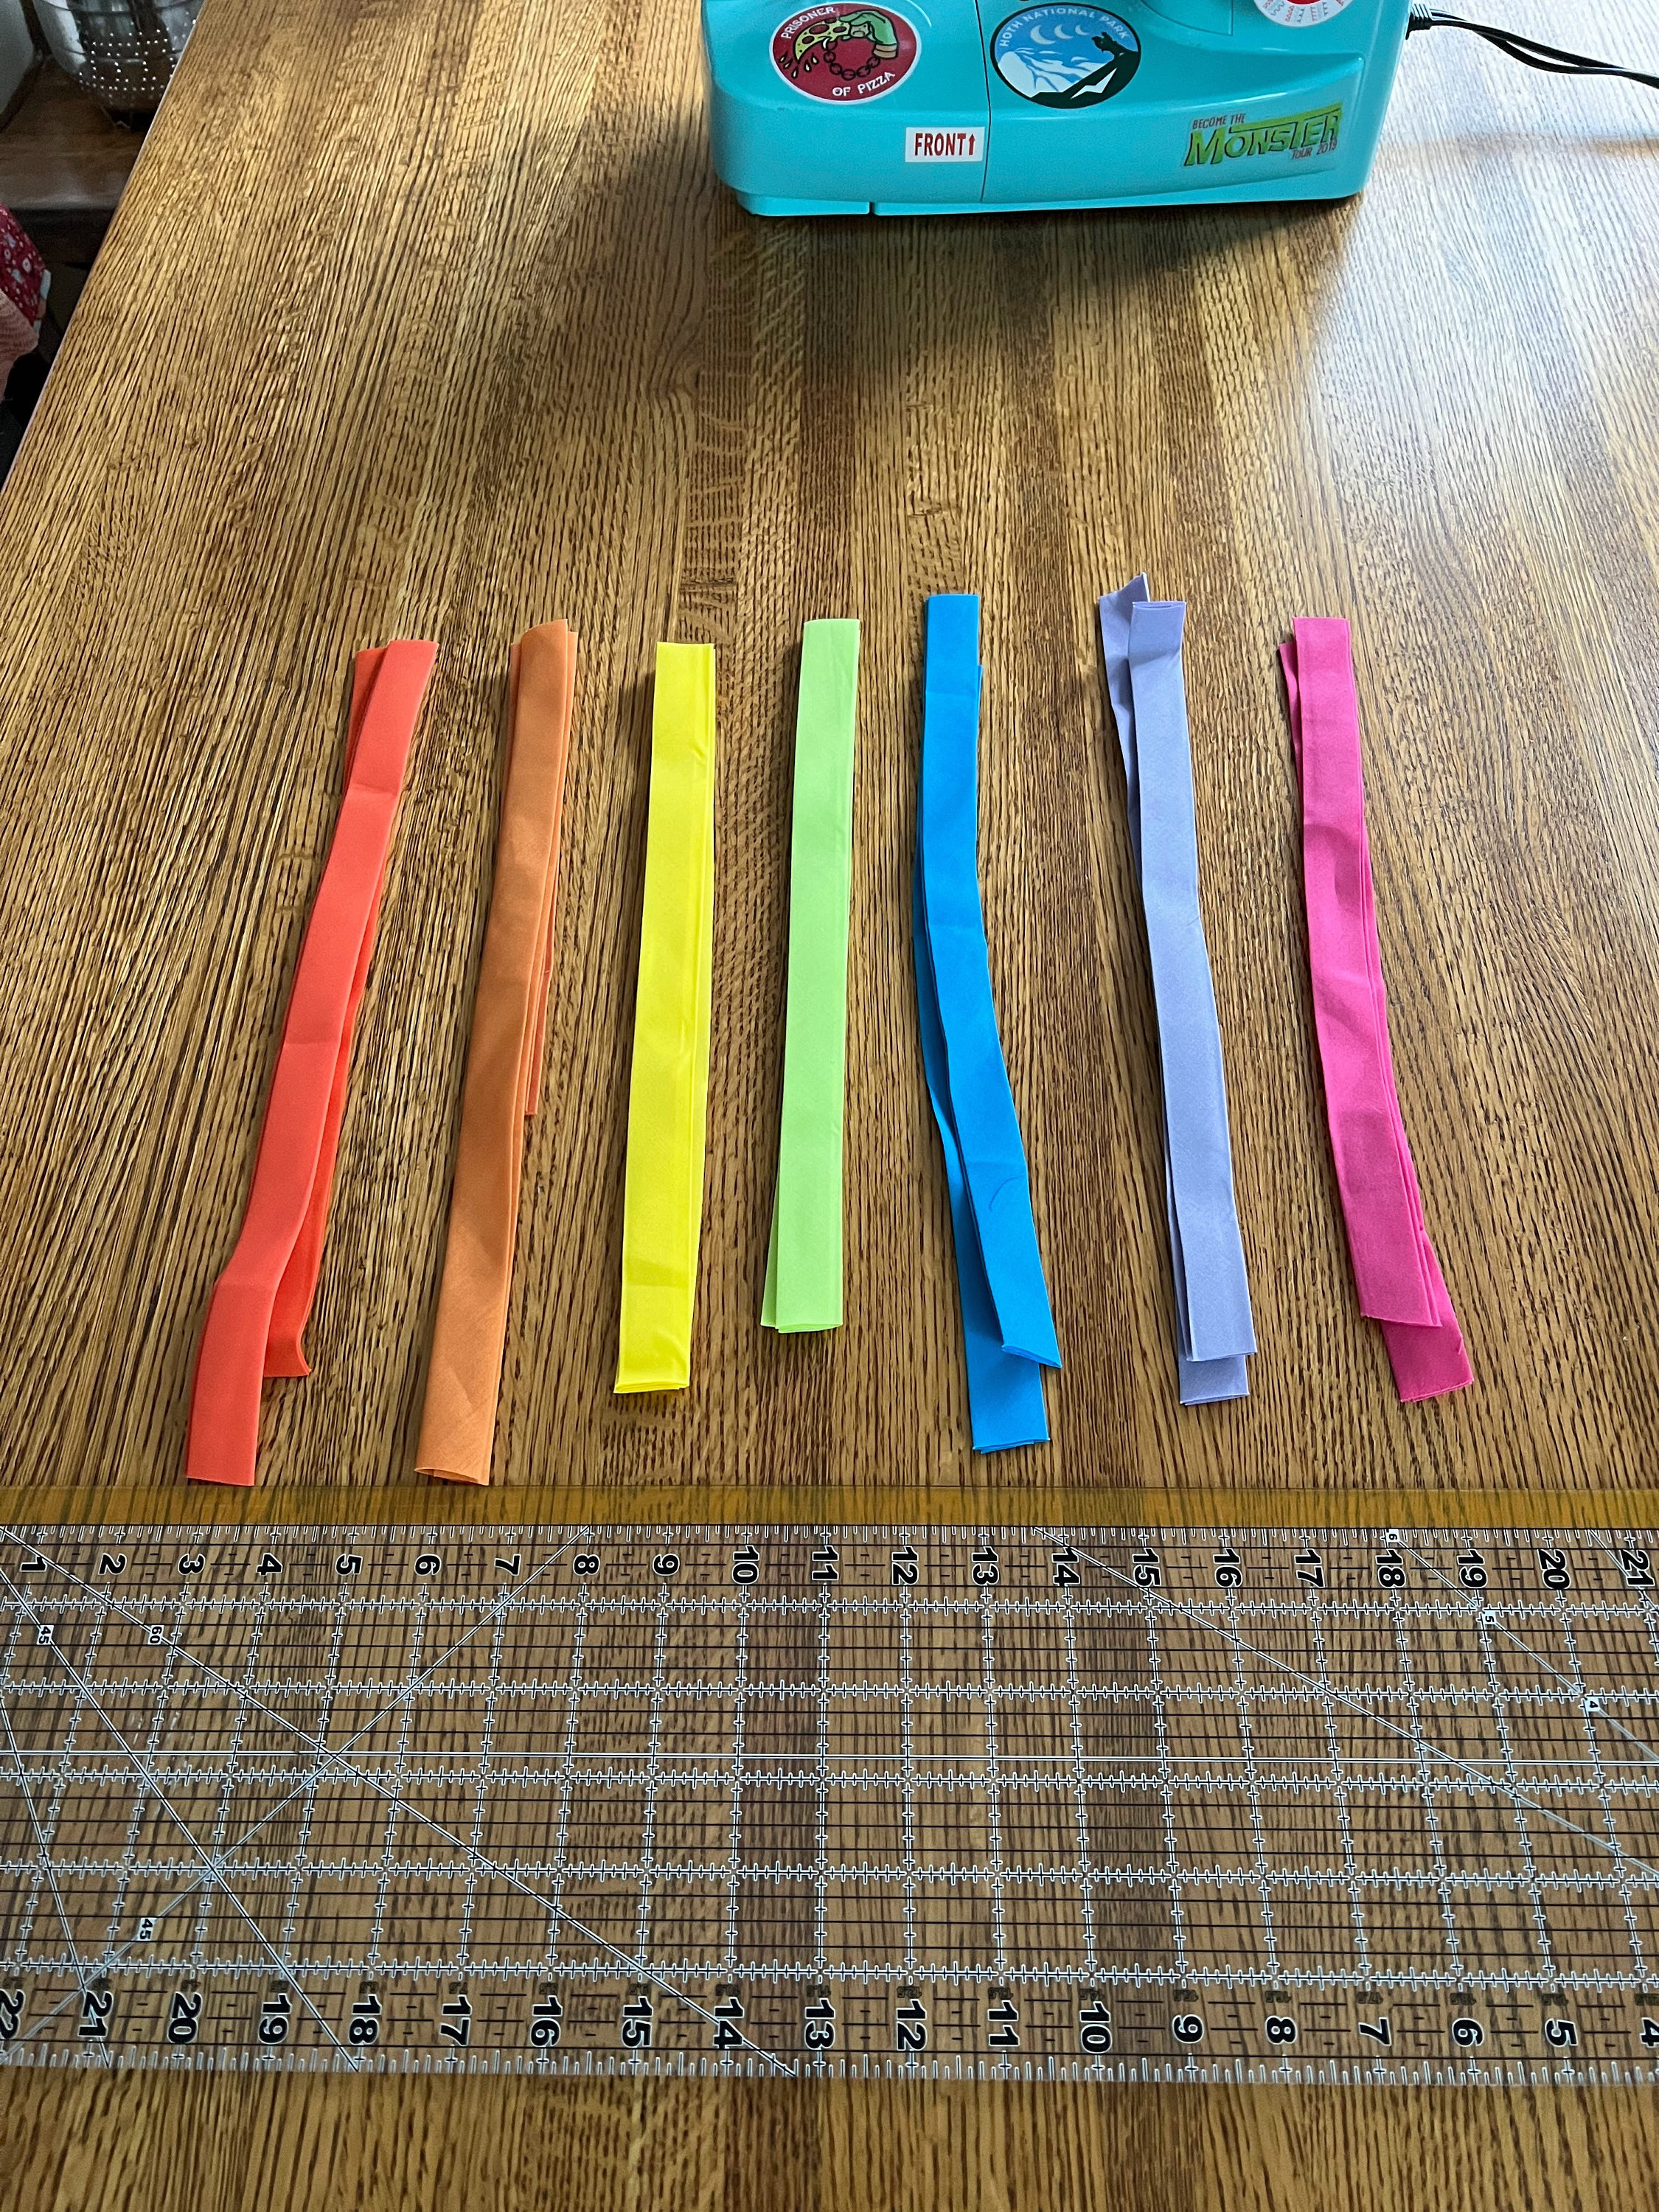
Now it's time for the binding. My husband is actually the king of quilt edges in our house so he actually stepped in to finish this project for me! You'll notice his very distinctive sewing machine. :) Here are the pieces that I had found for him to use:
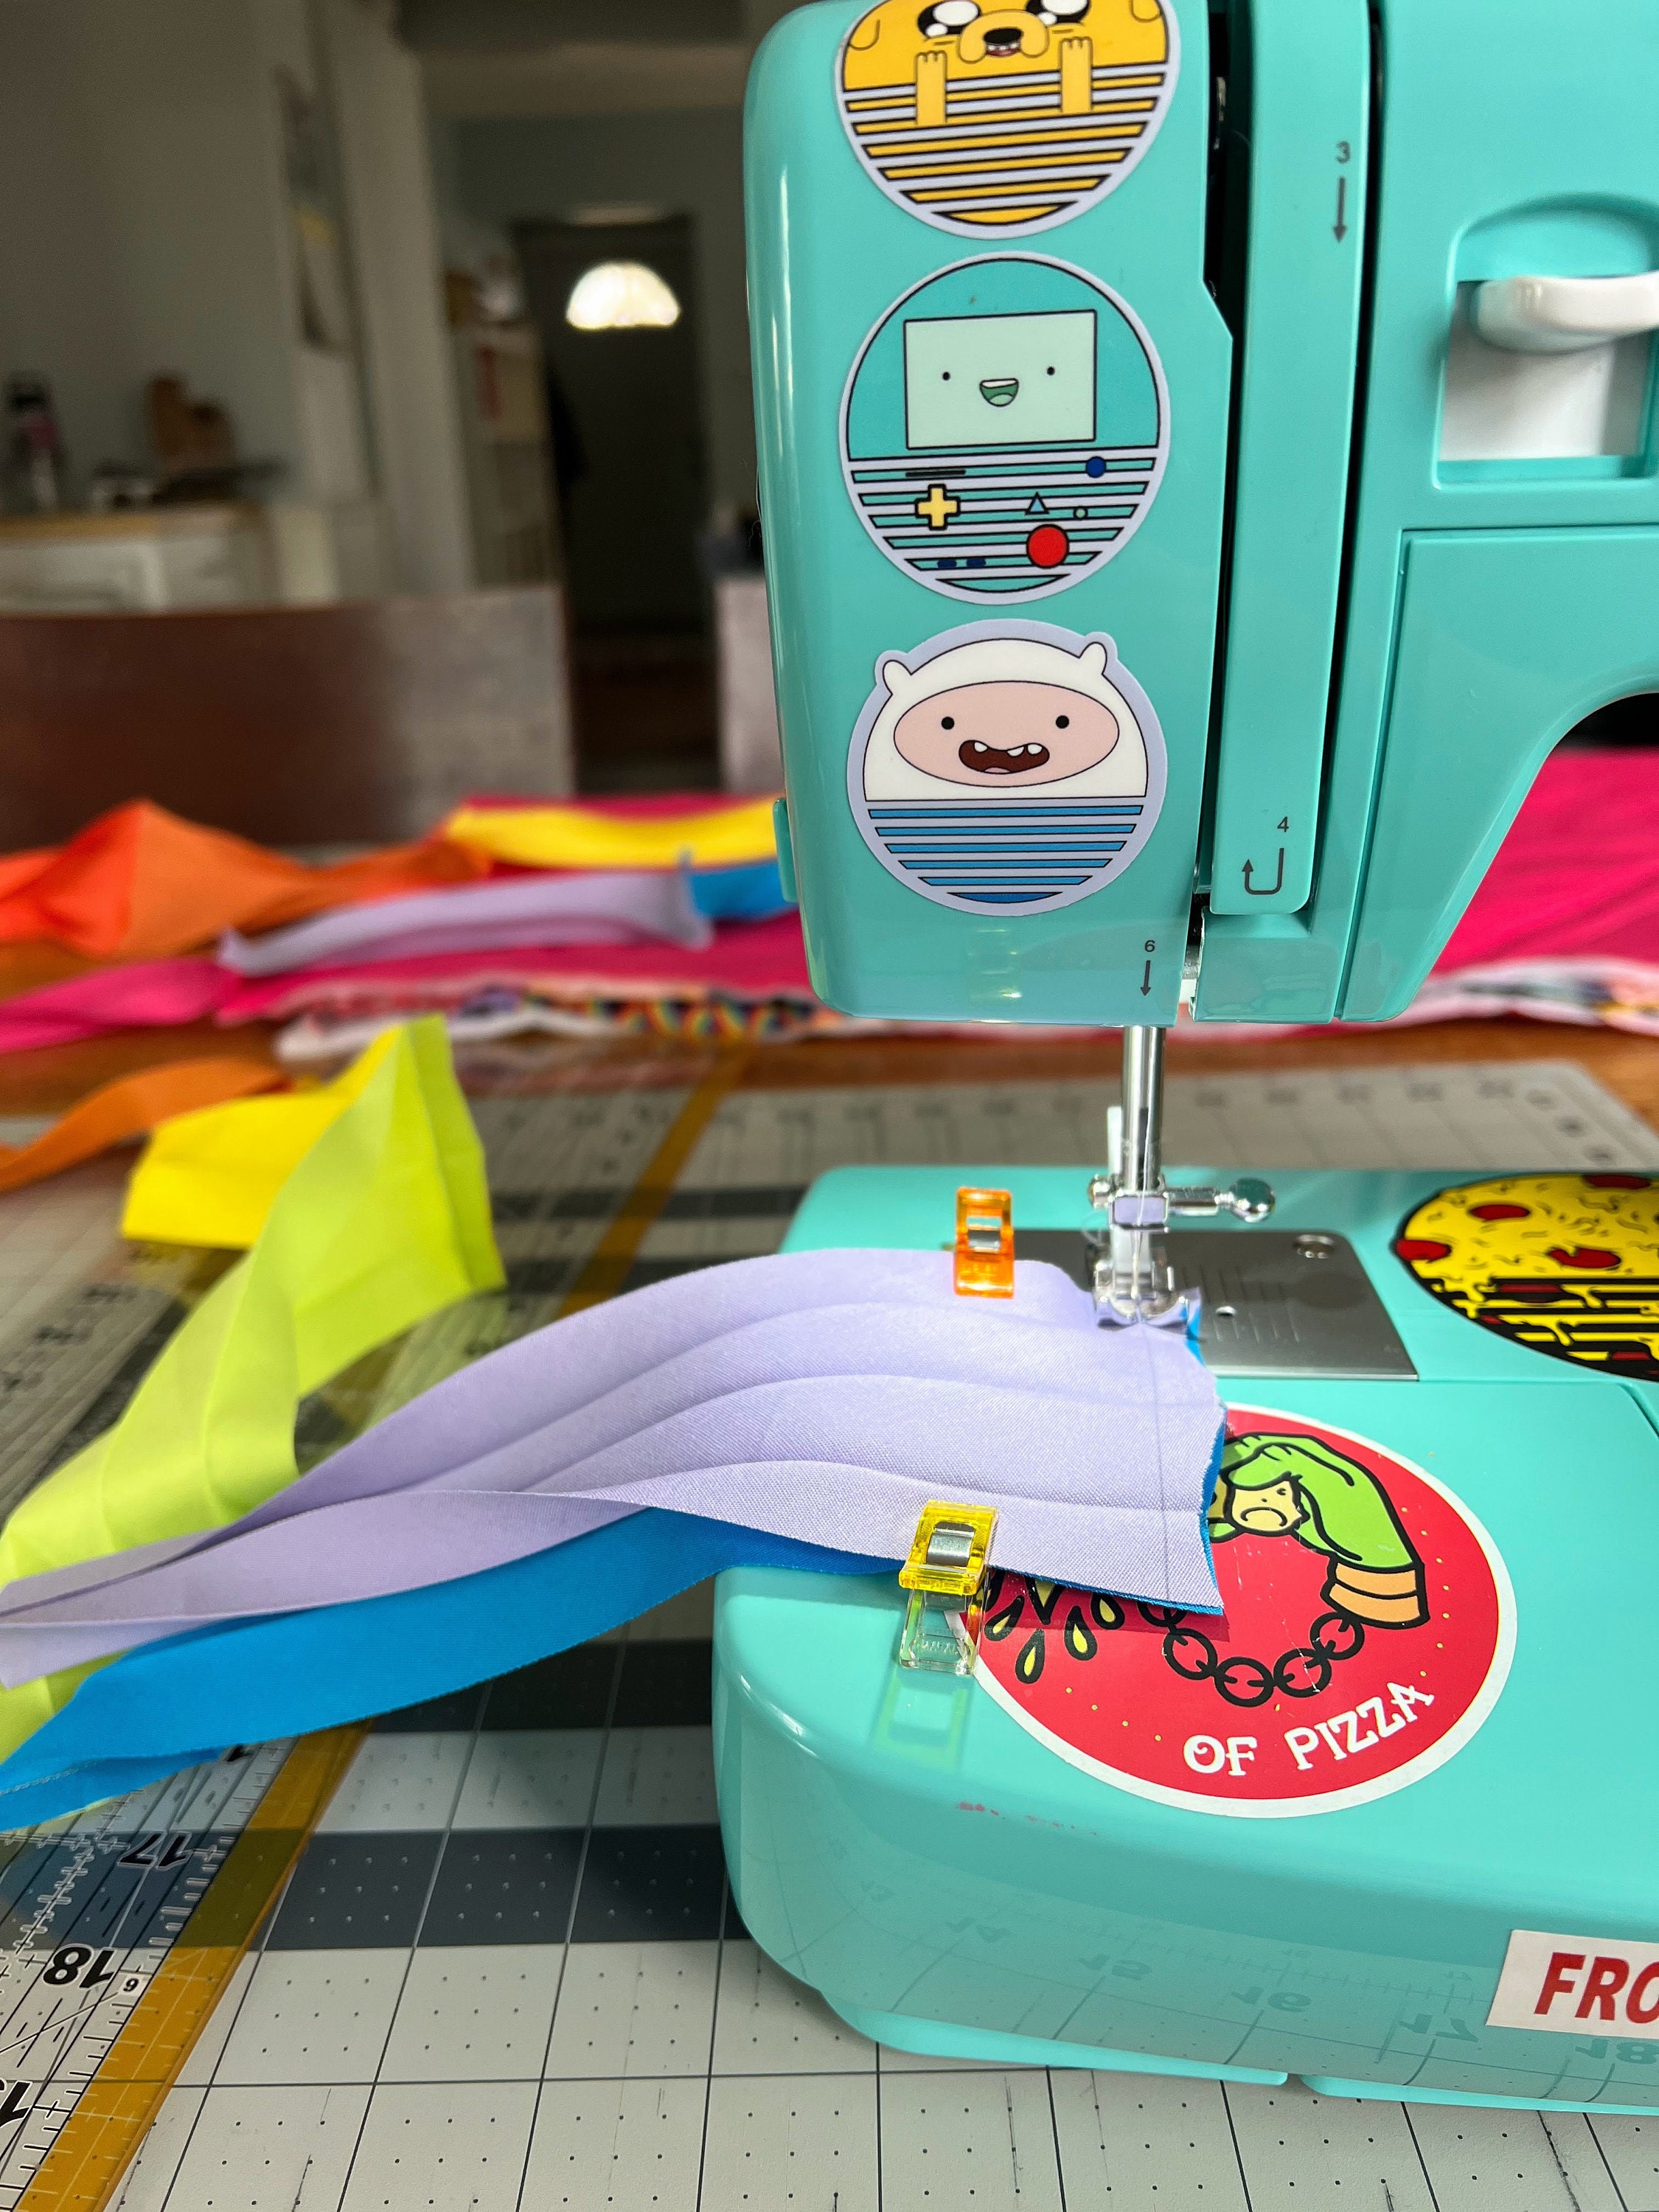
Sew the short edges together to make one long piece of binding.
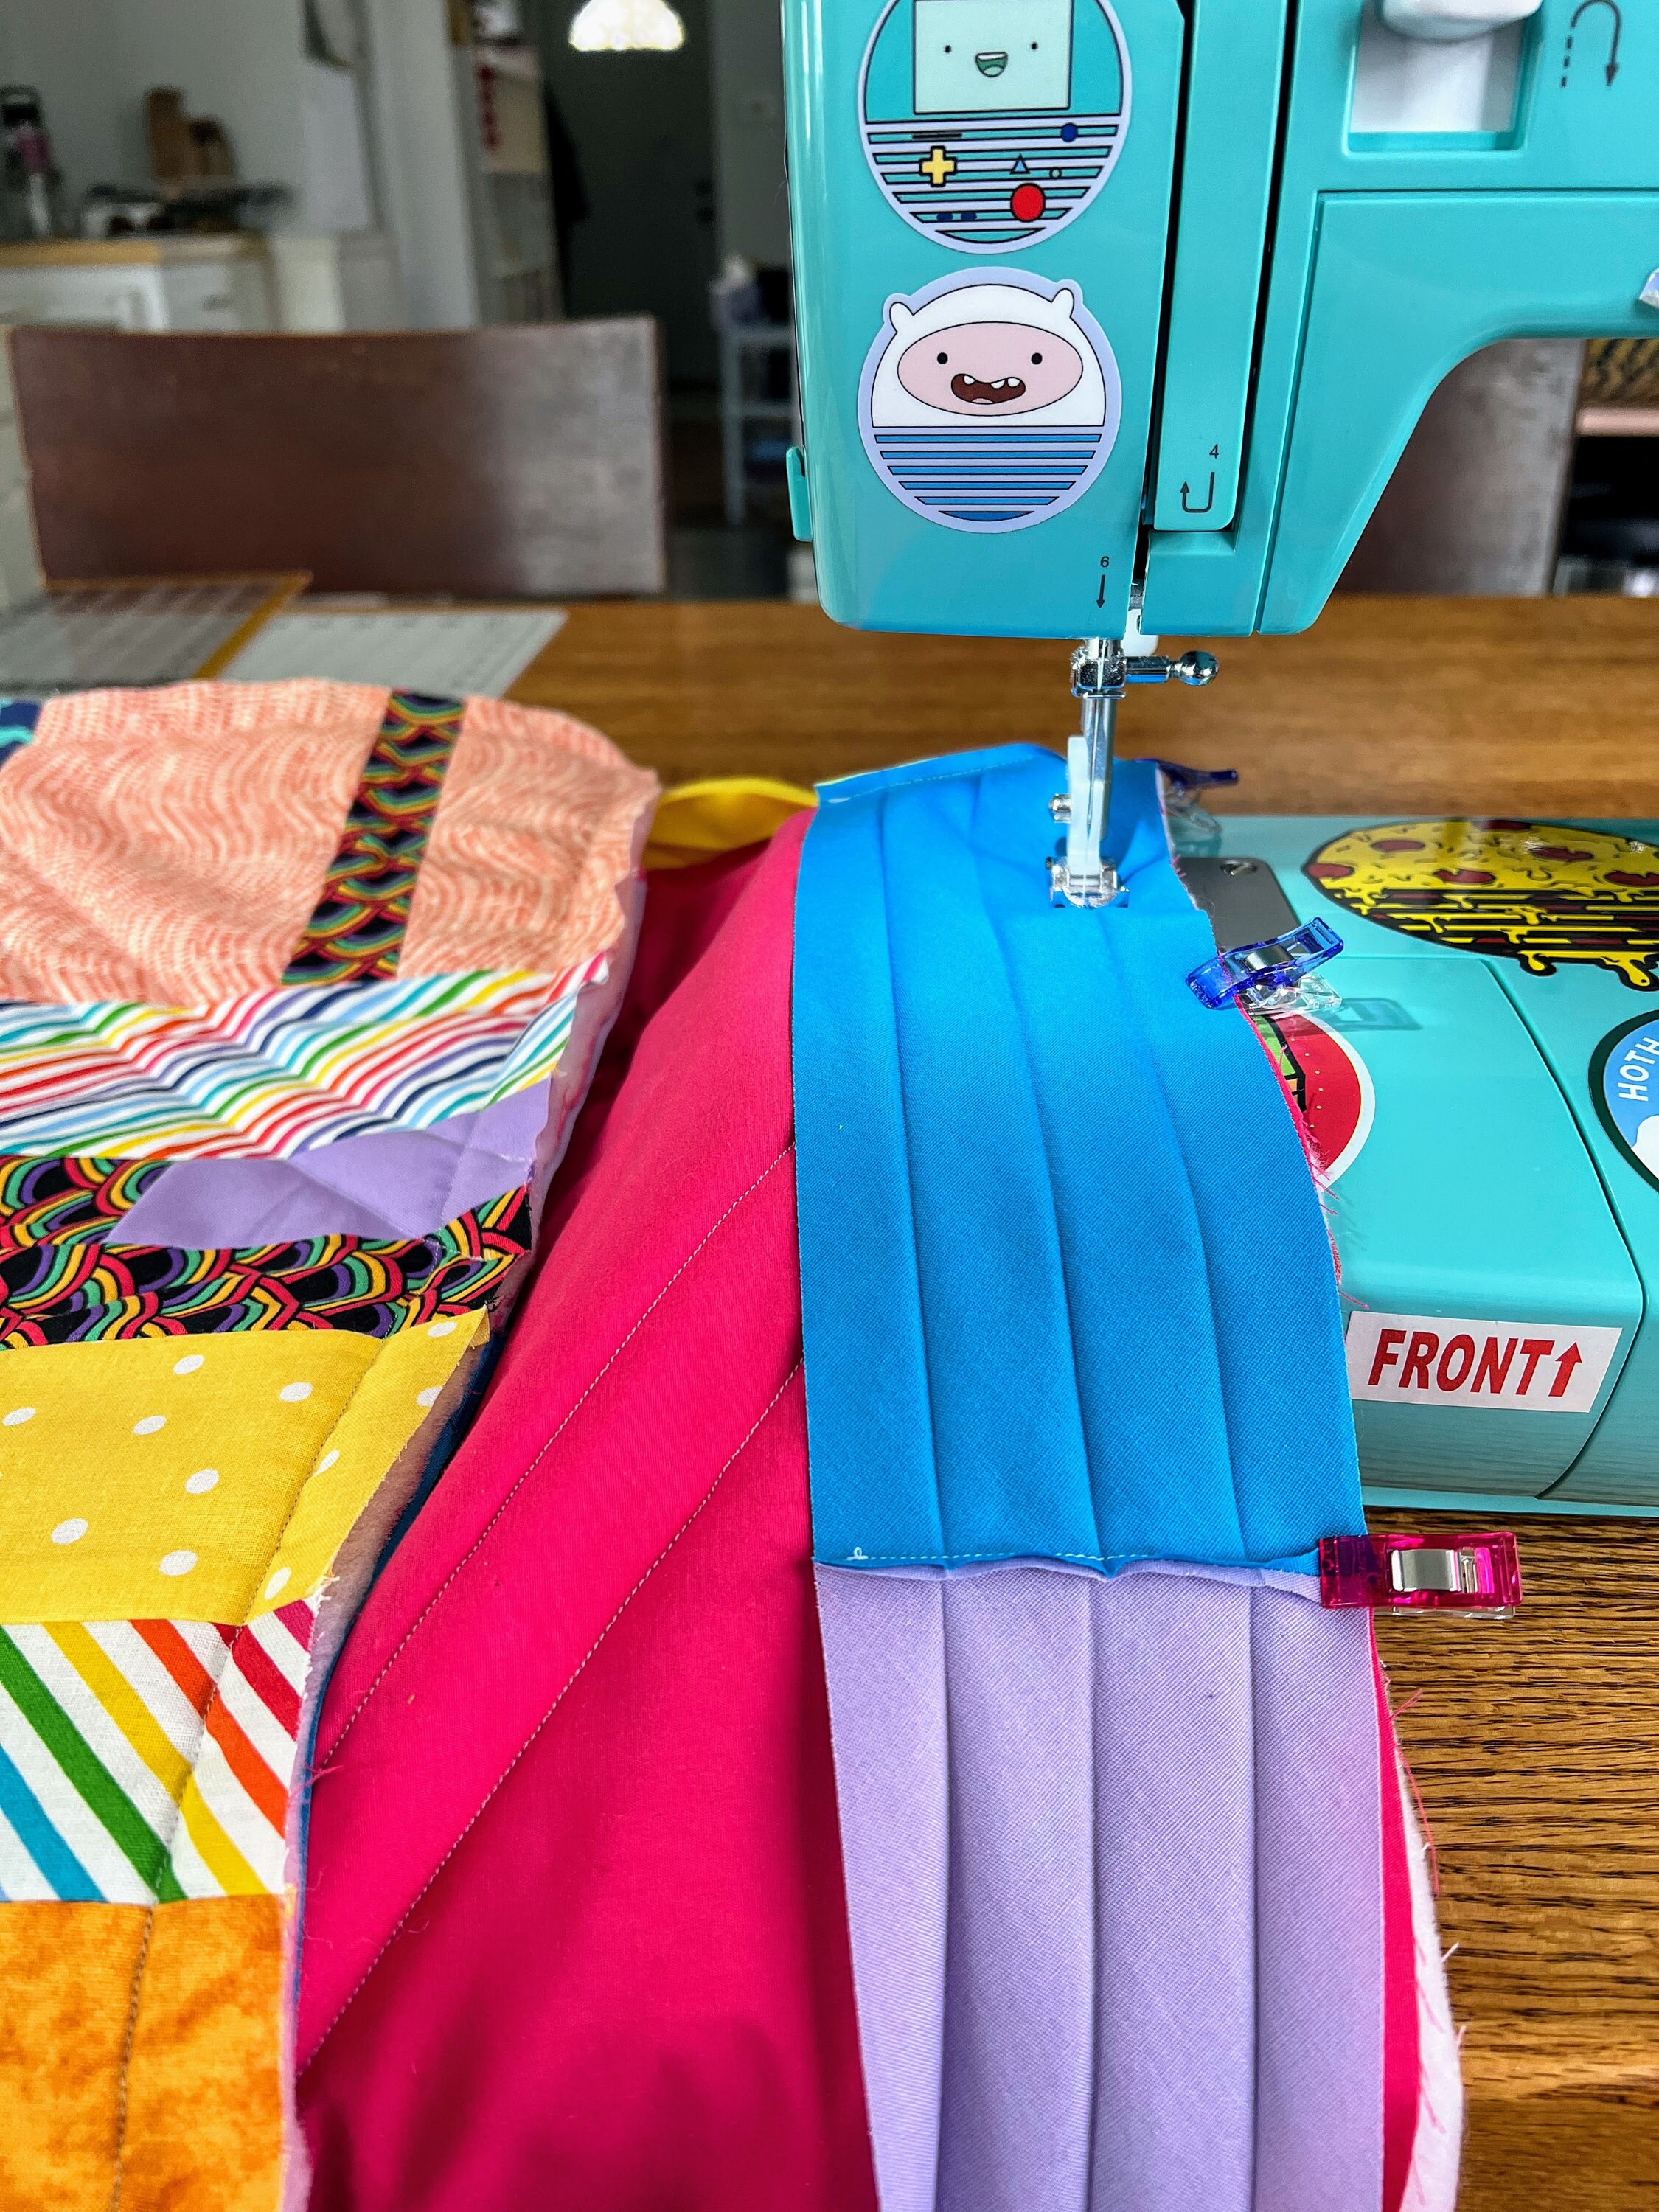
Stitch one side of the binding on to the quilt. The key here is to have patience!
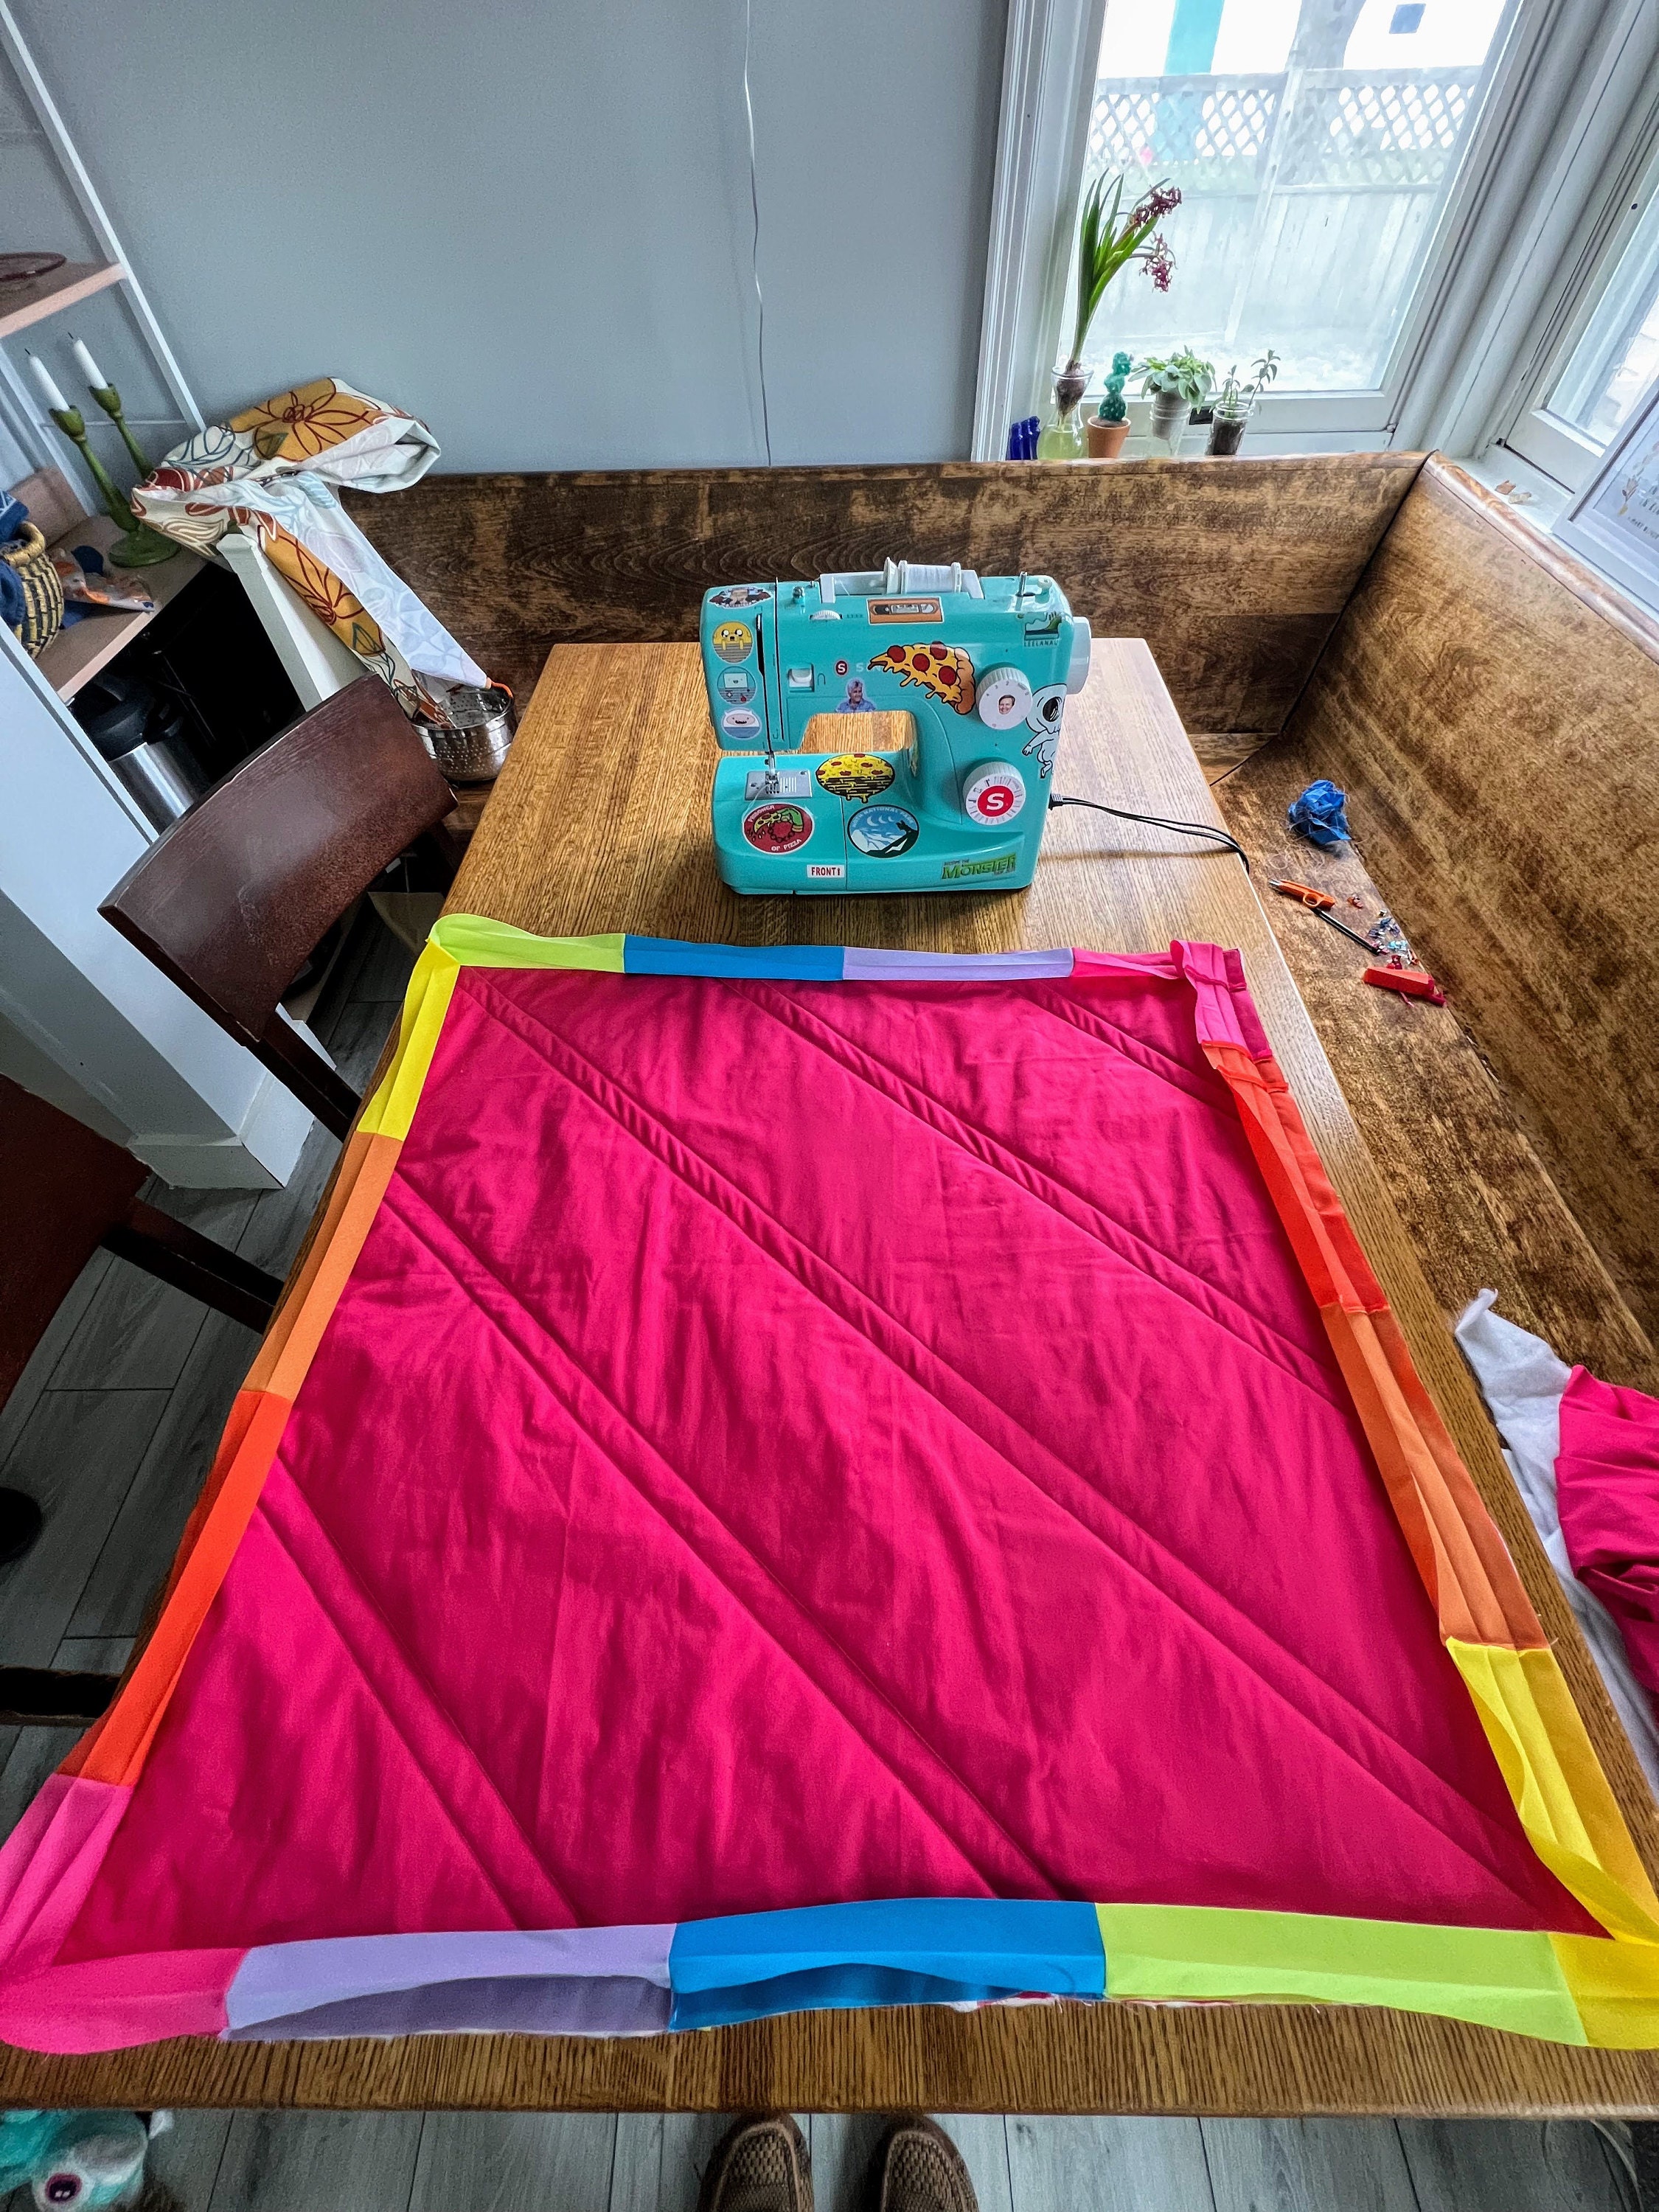
Here is how it looks after one side of the binding has been sewn on. Time for the other side!
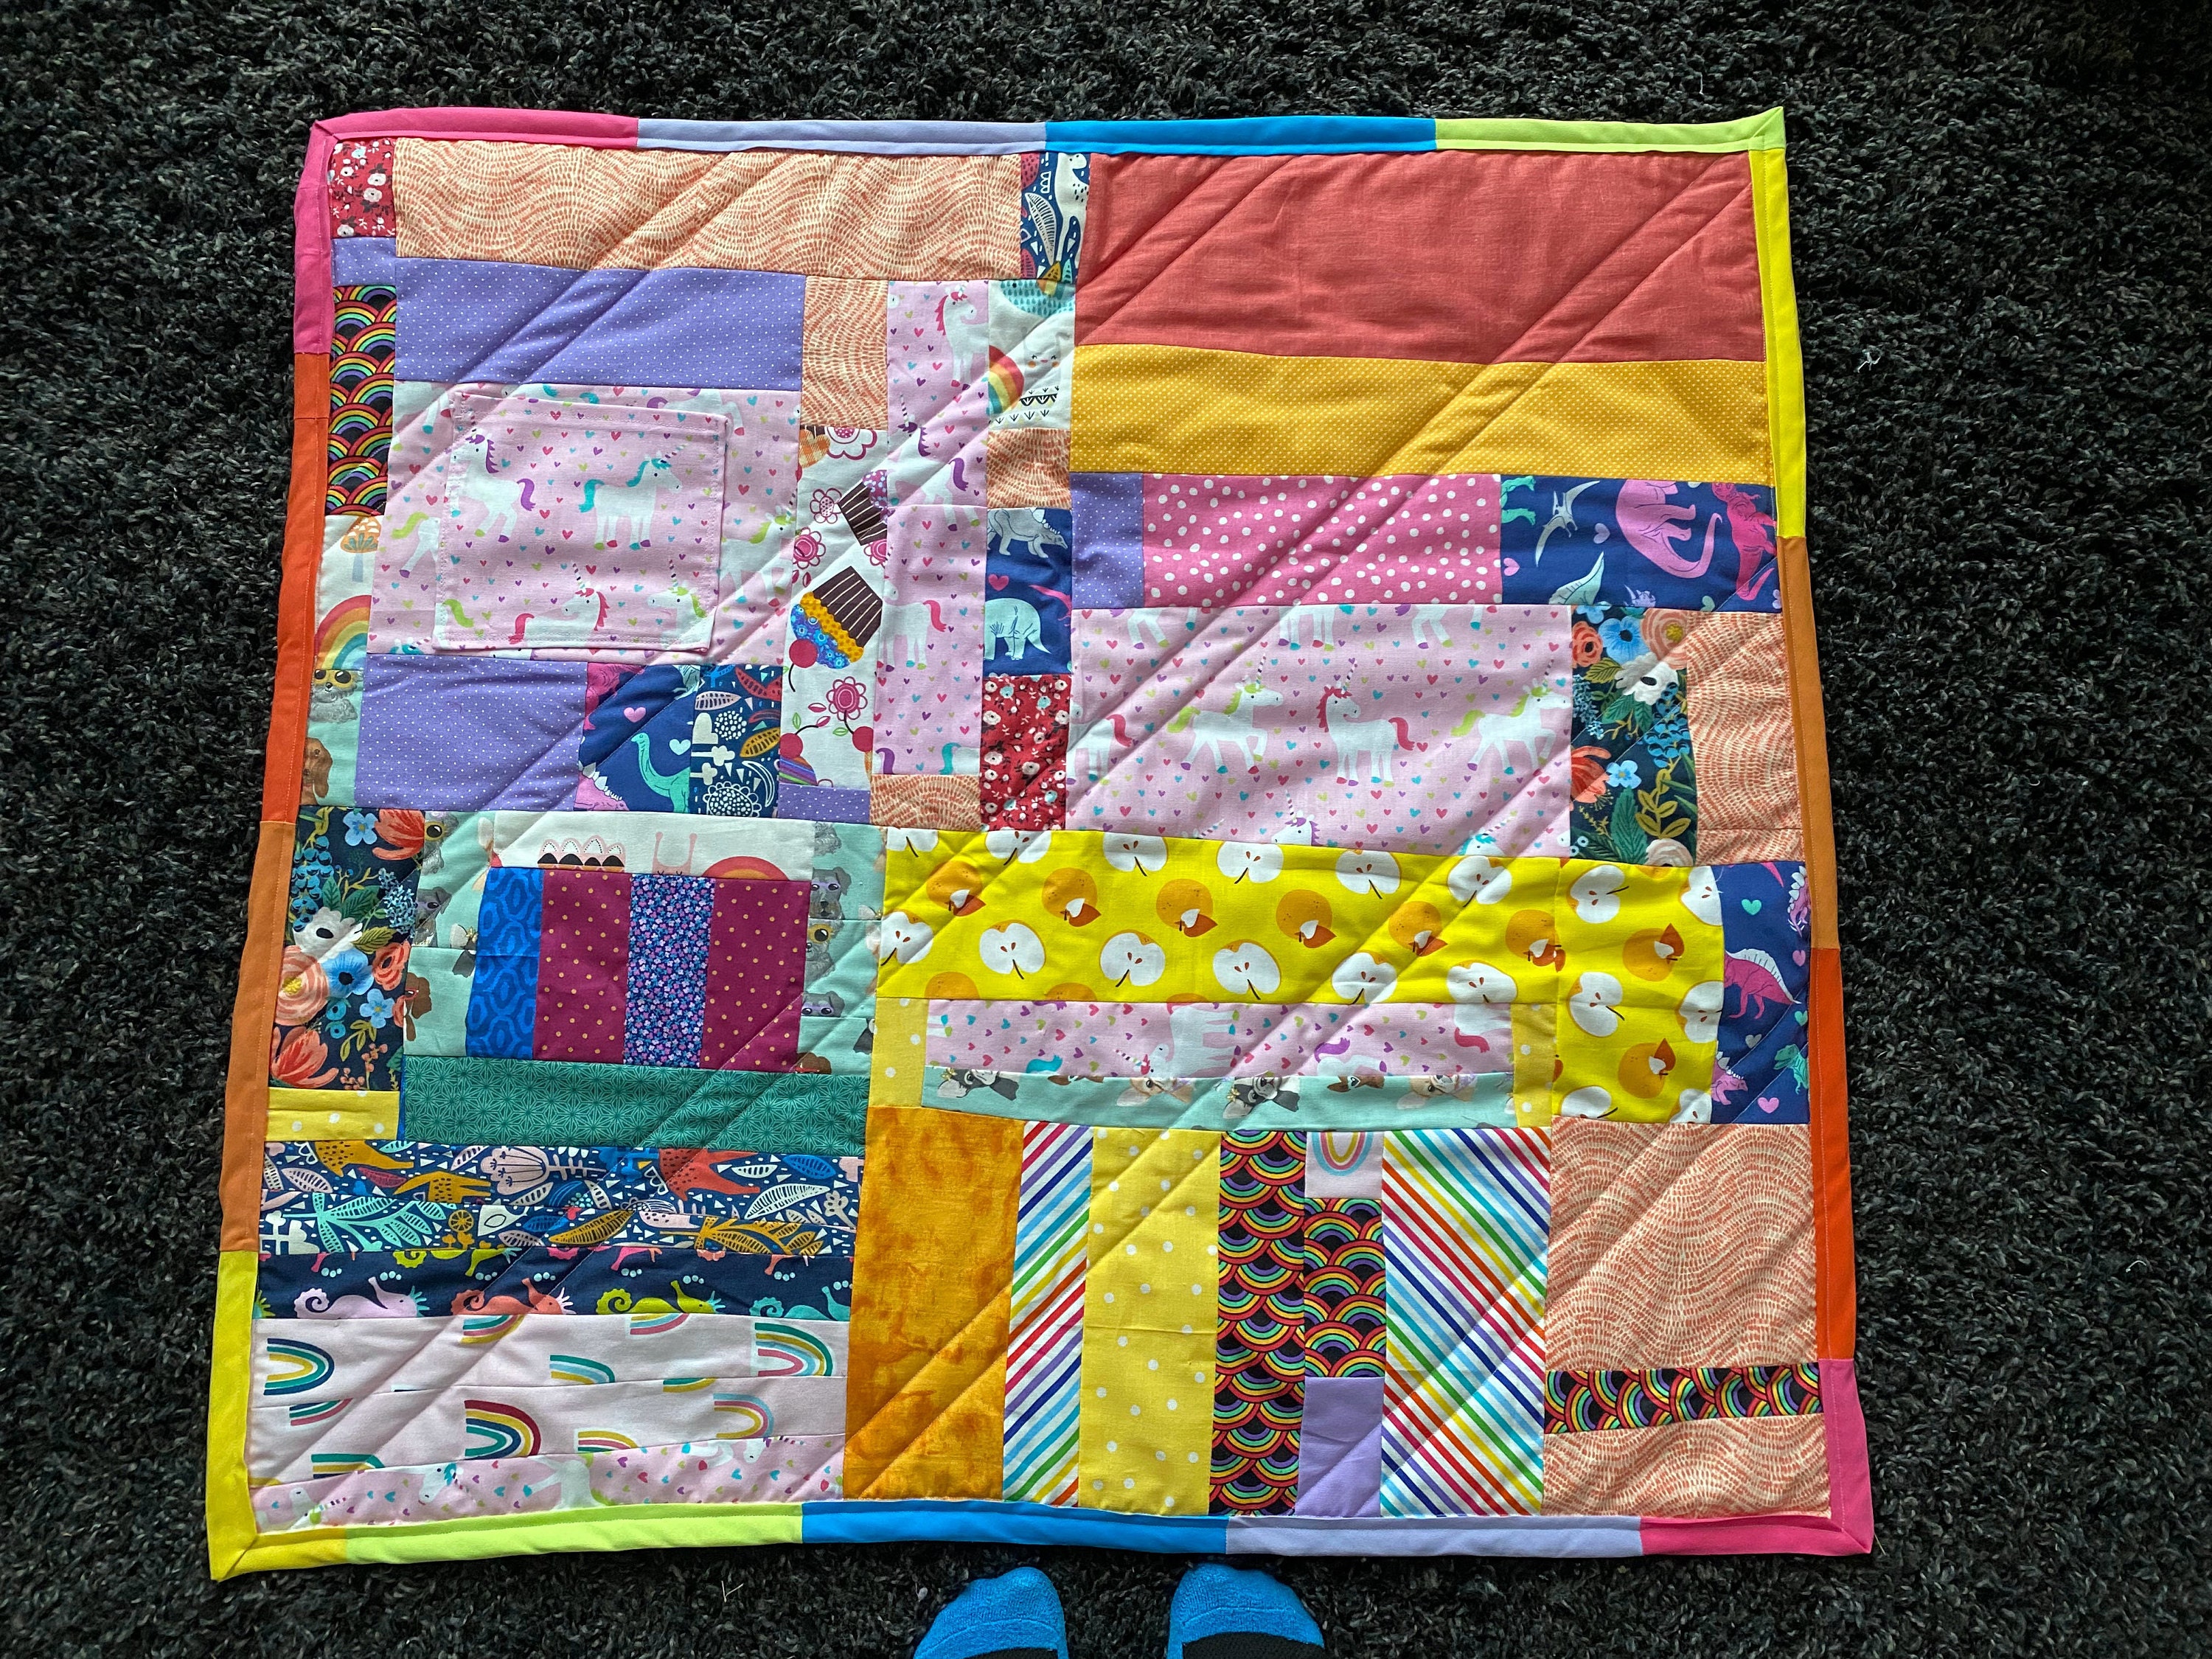
And tada! There you have it. A crazy quilt made 100% of scraps with just the cutest rainbow binding!

If you make your own scrap quilt, I'd love to see it! Please send pictures or tag me on social media.
Happy sewing!